Cloud-based engine for real-time vehicle route optimisation and intelligent appointment booking.
Schedule on-demand deliveries, taxi services, field force etc.
Offer your customers route-efficient appointment slots.
Accurately manage capacity for home-delivery networks.
Available as a RESTful JSON webservice.
Watch introductory video
or download our free white paper.
Licence: flat monthly subscriptionView details »
ODL Studio
Desktop-based application for non-realtime vehicle routing and territory mapping/management.
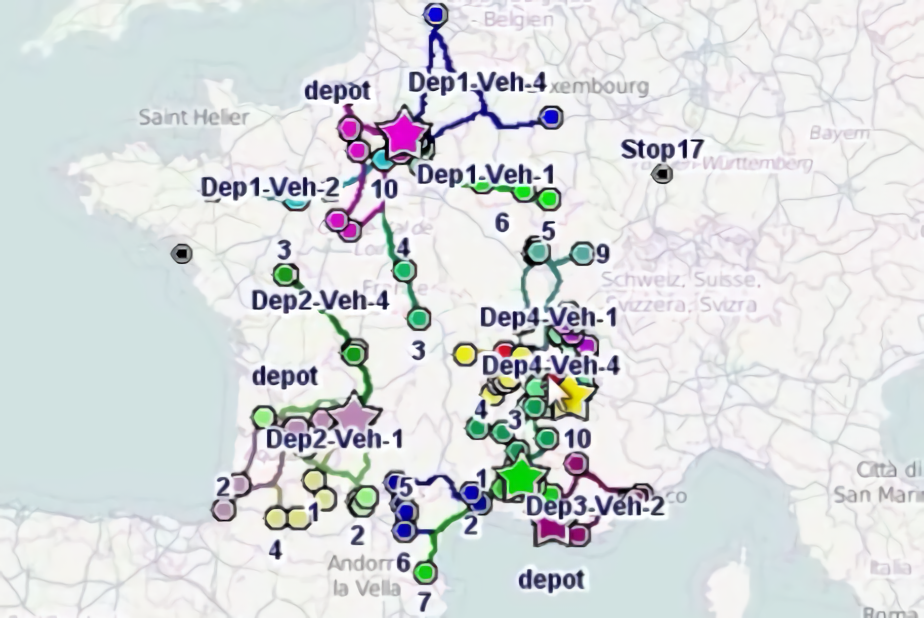
Generate your delivery routes for the day, review them and then print them out in a report.
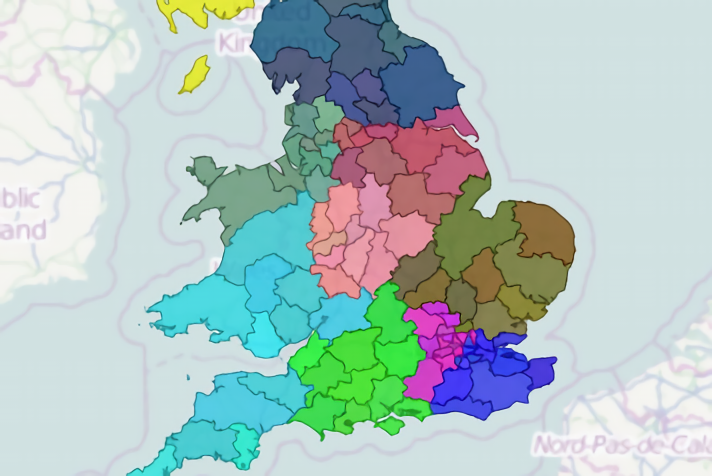
View your customers on a map and design sales territories around them.
All data is held in a simple Excel spreadsheet.
Available for Windows, Mac and Linux desktops.
Licence: open source (free)View details »
ODL Connect
Command line interface for ODL Studio, designed for easy integration into your backend systems.
Schedule your daily routes to be generated automatically (e.g. using Linux Cron).
Pass data between ODL Studio and your ordering processing system using simple text files or Excel spreadsheets.
Runs on either Linux or Windows servers.
Licence: one time purchaseView details »